CSD Educators: SciArt Workshop at Morley Academy
What is your favourite part of science? Ask any researcher and they might answer you with some mind-bending theory or applications that advance humanity. Ask a high school student and they might say “cool experiments”. My favourite part of science is its artistic flare.
In this article, I want to show you what happened when a class of photography students engaged in a cross disciplinary workshop combining science and art to look at crystals and light.
Working closely with teachers at The Morley Academy in Leeds, we designed a workshop that would engage photography students in art and science. The main aim? Make science visually engaging and offer students a new perspective on taught material and even expose them to scientific concepts that are outside the scope of their curriculum. After many trial and error experiments and purchasing a couple of teaching aids (dichroic cubes are amazing), we were set.
On the 5th of November, I set up the microscopes and light practical stations in the art classroom, nervous to be teaching and leading four different classes of years 9,10 and 11s through the theory of crystallisation, light polarisation, diffraction, refraction, and reflection. Yes. All the “-tions”. And on top of that the challenge of managing a class of up to 18 students at a time. But it was okay, the art and photography teachers at Morley academy were very helpful with the setup and running of the workshops, making sure the students had everything they needed.
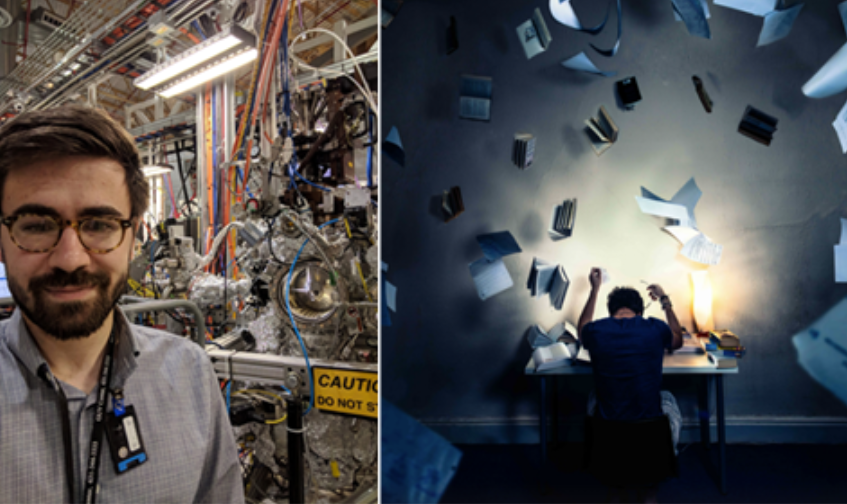
Figure 1 – Introducing myself to the students as a scientist (left) and photographer (right). Left was taken at the NSLS-II during my first beam time.
Right was my bedroom in final year trying to prepare for exams (this scene was repeated throughout my PhD).
The workshop started with an introduction to what the CCDC does and to my experience as both a photographer and a scientist. We then explored different photographs of crystalline materials showcasing a spectrum of colours and started to delve into the explanation of what a crystal is, how it is formed and what causes it to be colourful under a microscope. Naturally, an explanation of transmission cross polarised microscopy followed, and the theoretical section was closed by demonstrating how light reflects, refracts, and diffracts with the use of images and props.
The students were then set in groups and inducted into the two practical stations to capture photographs that could support their GCSE coursework.
Crystal Microphotography
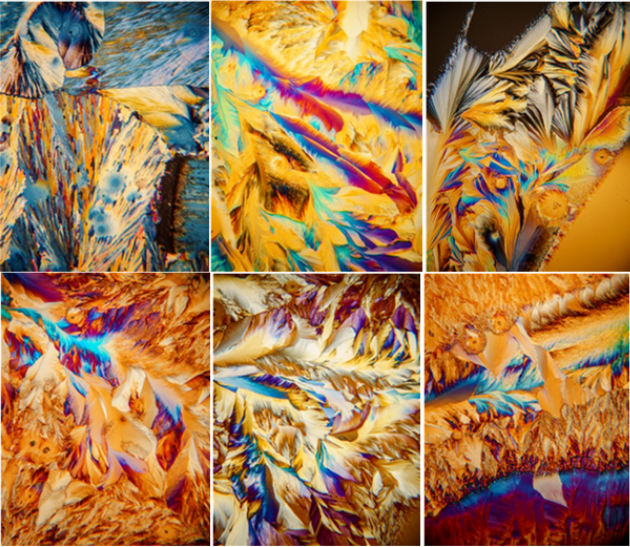
Figure 2 – Photographs taken by students at the workshop of paracetamol using cross polarised light microscopy.
Students started with pre-crystallised slides to get them comfortable using the microscopes and understand the use of cross polarised light. All the slides contained paracetamol (aka acetaminophen) as it always creates interesting patterns and colourations depending on growth conditions and solvents used.
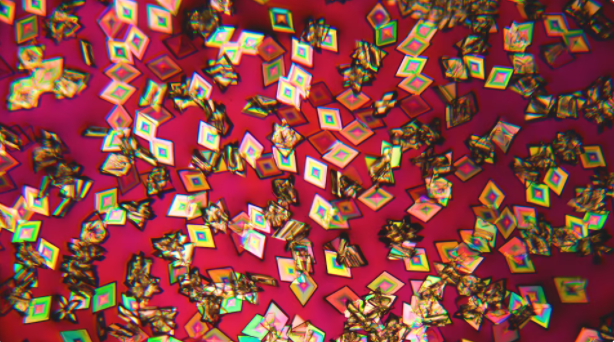
After taking a couple of photos, they had the chance to create their own slides using premade solutions and watch the crystallisation happening in real-time under the microscope. At this point, a lot of them would gasp in wonder, as they watched the surfaces of these crystals grow into the space previously occupied by solution.
Here is a video I’ve taken of crystals growing in case you’ve not had the pleasure of seeing it before:
Figure 3 – Video showing the growth of paracetamol in solution under cross polarised light and wave plate.
The images the students took of the premade and their own slides are stunning. A few of them are shown in Figure 2 . I was very impressed with how quickly they got the hang of it and how they experimented with the polarised filter and even used a birefringent material such as sweet wrappers to modify the colours. I learned some new techniques from them, so I am going to try them out on my next set of images!
A lot of the students seemed to enjoy using the microscope to take images, as it allowed them to carefully control the exposure and composition. I enjoyed a lot of the questions they asked, such as “Why is that part of the surface a different colour to the rest of it?” and “What would happen if we used different compounds?”. Getting students to engage in the scientific questions whilst observing artistic representation was the main aim of this workshop, and with these kinds of questions I got the impression that was achieved.
Light through Prisms and Dichroic Cubes

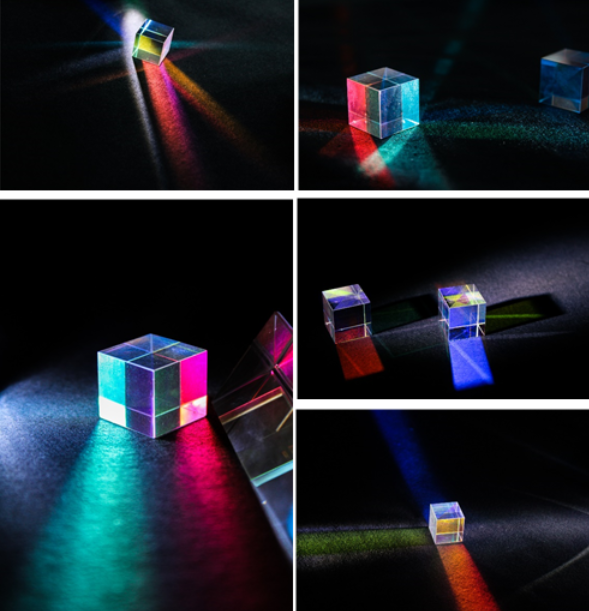
Figure 4 – Photographs taken by students showcasing different light patterns through dichroic cubes and prisms.
The aim of this station was to teach the students that light can behave in different ways depending on the material it interacts with. Whilst explaining that X-ray diffraction is what gives us data about the crystal structure, it was apparent that just diffracting some light was not going to cut it for reaching maximum engagement. This is where I cheated a little bit.
Using dichroic cubes and prisms the students got a chance to explore what happens when you pass light through a material that mirrors, reflects, refracts, and transmits the light. We did experiment with a diffraction grating but found it very difficult to utilise the light around us to take clear images.
Students found it fascinating rotating the cubes to create different colour palettes and combining them. I’ve included a few example images from this station in Figure 4.
What I found interesting about how the students engaged with this practical is that they were experimenting with different angles for the lights, cubes, and cameras. They started stacking the cubes on one another, putting them in arrays and even shooting through them to modify the light going into the lens. All without being prompted. In a time when virtual lessons and engagements are the norm, it is amazing to be reminded how much of an impact simple physical objects can have on understanding and exploration.
How did it go? – Feedback and Reflection
Overall, the workshop was well received, and I am happy to report that all the students enjoyed the workshop enough to want another one in the future. Students and staff members were asked a couple of questions about the workshop. I’ve listed a few responses below to try and capture the majority.
What was your favourite part of the workshop?
- “All of it was my favourite”
- “I enjoyed working with the microscopes and the movement of the crystals growing :)”
- “My favourite part of the workshop is reflecting the light. It is really cool. The colour will be different when changing the direction”
What did you learn?
- “I learnt what a crystal actually is”
- “I had learnt about how crystals are made from lots of molecules”
- “How compounds are made, how light refracts and diffracts”
The teachers reported the scientific and photographic material to be “ Just Right” in terms of challenging for the students.
- “Students have been inspired by the workshop and I have seen better engagement in subsequent lessons. “
- “… they developed a greater understanding of using the DSLR cameras and of the scientific context behind the photographs”
- “… students will be able to apply learning to their science curriculum “
From my point of view, I enjoyed every second of the workshop, even those filled with chaos and running out of time. The transfer from theory to practical was a challenge for the students, but they were engaging in both experimentation with the techniques and questioning the theory. As far as outreach goes, I don’t know if you can ask for any more. A special thanks to all the teachers in the art department that help set up and facilitate the workshop!


